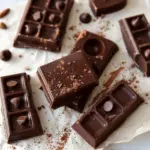
Introduction to 3 Ingredient DIY Chocolate
The allure of homemade chocolate
There’s something undeniably magical about homemade chocolate. Imagine the rich aroma wafting through your kitchen as you melt the cocoa and mix in just a few simple ingredients. When you create your own chocolate, you aren’t just making a sweet treat; you’re crafting small moments of joy. Plus, the process can be incredibly rewarding! You have complete control over what goes into your chocolate, allowing you to cater to your dietary preferences and avoid unwanted additives.
Have you ever read the back of a chocolate bar wrapper and struggled to pronounce half of the ingredients? You’re not alone. This is where the charm of 3 Ingredient DIY Chocolate comes into play. By using minimal ingredients, you can create something both delicious and free from the unnecessary additives often found in store-bought versions.
Why choose 3 ingredient recipes?
Let’s face it: life gets busy. In between work, errands, and social plans, who has time to sift through lengthy recipes? That’s why 3 ingredient recipes are such a hit among young professionals. They are simple yet fulfilling, making it easy to whip up a delightful treat without feeling overwhelmed.
With just three ingredients, you can put together a delicious chocolate that’s perfect for snacking or gifting. You might even find yourself experimenting with flavors or adding your favorite toppings, all while adhering to a straightforward process. According to research from the American Institute for Cancer Research, dark chocolate may even have health benefits when consumed in moderation, making this DIY chocolate an even more tempting option.
- Quick and easy: Less time in the kitchen means more time to enjoy your creations.
- Customizable: Tailor your chocolate to your taste—add sea salt, spices, or nuts for a unique twist.
- Health-conscious: With fewer ingredients, you can choose quality options, from organic cocoa to natural sweeteners.
All these factors combined make this 3 Ingredient DIY Chocolate not just a recipe, but a delightful experience. So, ready to roll up your sleeves and dive into the world of chocolate crafting? Let’s get started!
Ingredients for 3 Ingredient DIY Chocolate
Essential ingredients for chocolaty goodness
When you’re ready to indulge in your own 3 Ingredient DIY Chocolate, you’ll find that simplicity is key! Here are the essential ingredients you’ll need for that delicious, melt-in-your-mouth treat:
- Cocoa Powder: A high-quality cocoa powder is fundamental. Look for brands that are 100% pure to ensure rich flavor.
- Coconut Oil: This magical ingredient not only helps firm up your chocolate but also adds a lovely creamy texture. Plus, it’s a healthier fat option!
- Sweetener: Whether you prefer honey, maple syrup, or a sugar substitute, your choice will determine the sweetness level. Experiment to find your perfect match.
With just these three staples, you’ll create a chocolate base that’s versatile and oh-so-satisfying.
Optional add-ins for a personalized touch
Want to elevate your 3 Ingredient DIY Chocolate experience? Consider mixing in some optional add-ins for that personal flair. Here’s where your creativity can shine:
- Nuts or Seeds: Almonds, walnuts, or chia seeds can add crunch and nutrition.
- Vanilla Extract: A splash of vanilla elevates the flavor profile beautifully.
- Dried Fruits: Think cranberries or apricots for a sweet tang.
Feeling adventurous? You can even incorporate spices like cinnamon or a touch of sea salt for a unique twist. Customize your chocolate to match your taste buds!
For more inspiration and tips on sweet treats, check out resources like Chocolate Revolution or dive into DIY trends on The Spruce Eats.
Happy crafting!
Preparing 3 Ingredient DIY Chocolate
Making your own chocolate at home can be a truly delightful experience. With just a few simple ingredients, you can create tailored flavors that suit your unique taste. This section will guide you through the easy steps to whip up your very own 3 Ingredient DIY Chocolate, making it a fun activity for weekends or when you feel inspired.
Gather Your Ingredients
The first step in preparing your 3 Ingredient DIY Chocolate is to gather all your ingredients. You’ll need:
- Cocoa powder: Opt for unsweetened cocoa powder, which is the foundation of your chocolate base and provides a rich flavor.
- Coconut oil: This ingredient gives your chocolate that smooth texture we all crave. It’s also naturally sweet and adds a subtle hint of coconut flavor.
- Sweetener: Choose from options like maple syrup, honey, or even granulated sugar, depending on your dietary preference.
Having everything at hand not only streamlines your process but also ensures that you immerse yourself fully in the creative act of chocolate-making.
Mix Your Ingredients Thoroughly
Once you have your ingredients ready, it’s time to mix them up! In a mixing bowl, combine the cocoa powder and coconut oil.
- Start by warming the coconut oil slightly if it’s solid; you can do this by placing it in a microwave-safe bowl for about 15 seconds.
- Gradually sift in the cocoa powder to avoid any clumps, and mix until they form a smooth paste.
- Next, add in your sweetener to taste. This process may require some trial and error, so feel free to adjust according to your taste preferences.
Ensure your mixture is uniform and smooth. You might find it helpful to use a whisk or an electric mixer to achieve the perfect consistency—much like the texture you get from store-bought chocolate!
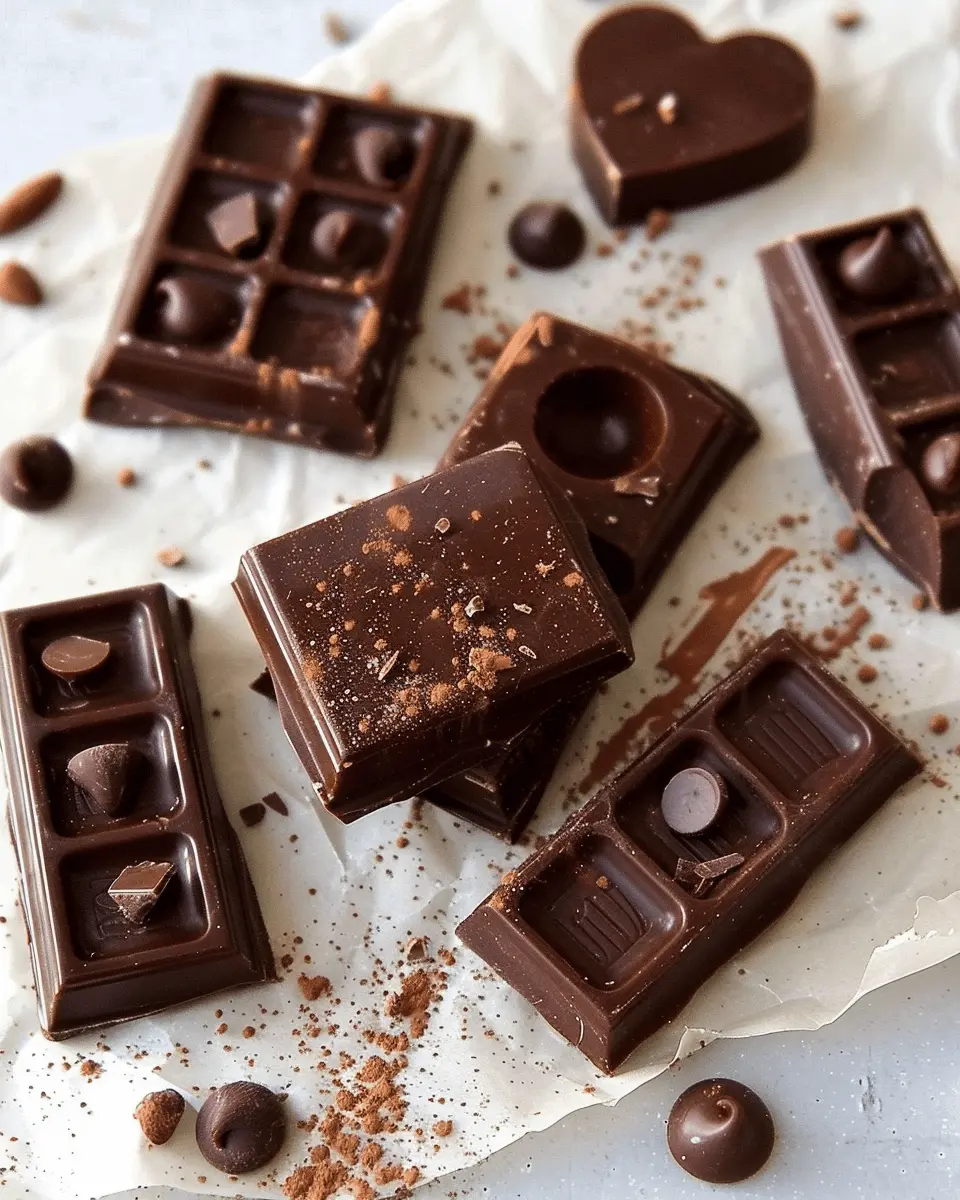
Choose Your Molds
Now comes the fun part—choosing your molds! Your selection will influence not only the appearance but also the eating experience of your 3 Ingredient DIY Chocolate.
- Silicone molds: These are a popular choice because they’re flexible, making it easy to pop out the finished chocolate without any mess. Look for fun shapes like hearts, stars, or seasonal themes!
- Mini muffin tins or ice cube trays: If you don’t have molds on hand, these everyday kitchen items work perfectly. Just remember to lightly grease them with a bit of oil for easy removal.
Explore different shapes and sizes to make your creations even more exciting!
Freeze and Set the Chocolate
After pouring your chocolate mixture into the molds, it’s time to let it set.
- Place your filled molds in the freezer for about 30 to 45 minutes. This cooling period ensures the chocolate hardens properly.
- For a creamier texture, consider letting the chocolate rest at room temperature for a few minutes after they come out of the freezer before removing them from their molds.
Don’t rush this step; patience is key to achieving delicious results.
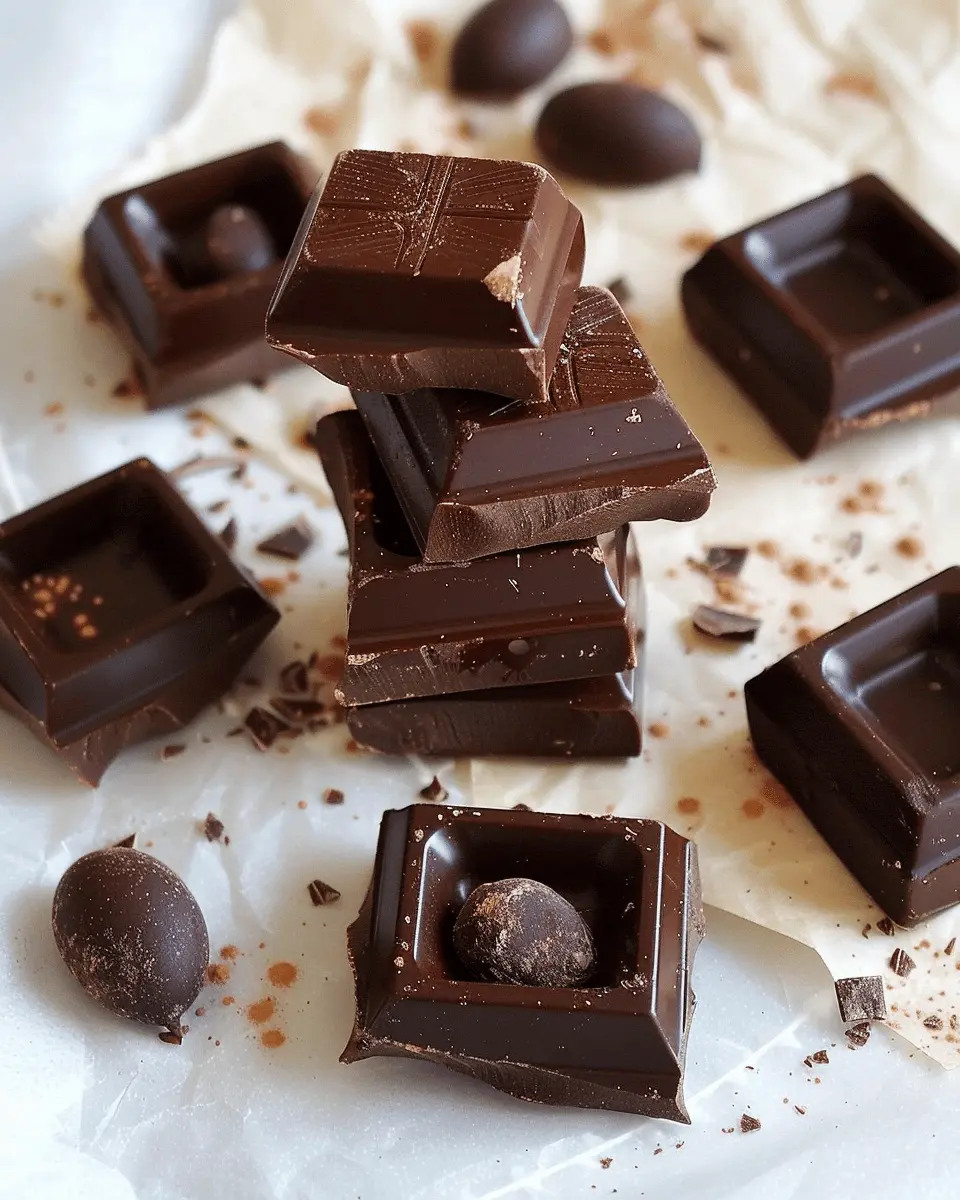
Enjoy Your Creations!
Finally, the moment you’ve been waiting for—enjoying your homemade 3 Ingredient DIY Chocolate!
- Consider pairing it with fresh fruits like strawberries or bananas for a delightful treat.
- Why not share your creations with friends? Chocolate-making can be a great social activity, perfect for gatherings or even a cozy date night.
And if you’re looking to elevate your chocolate’s flavor profile, try adding spices like cinnamon or a pinch of sea salt before freezing. It’s your creation—make it as unique as you are!
Ready to dive in? Why not check out our recipe blog for more delicious ideas? Happy chocolate-making!
Variations on 3 Ingredient DIY Chocolate
Chocolate lovers, rejoice! With just three simple ingredients, you can unlock a world of delicious variations that elevate your 3 Ingredient DIY Chocolate experience. Whether you enjoy a crunchy texture, a fruitier flavor, or a spicy kick, these variations will keep your taste buds excited.
Nutty chocolate delights
If you’re a fan of that satisfying crunch, consider adding various nuts to your homemade chocolate. Here are some ideas:
- Almonds: Slivered or roughly chopped, they add a lovely texture.
- Hazelnuts: Toasted, for a roasted flavor that pairs beautifully with chocolate.
- Pecans: Their buttery richness complements sweet chocolate perfectly.
Mixing in a handful of these nuts not only creates delightful textures but also gives your chocolate a protein boost. Plus, nuts are rich in nutrients; a little research from the Harvard T.H. Chan School of Public Health highlights their health benefits!
Fruity chocolate combinations
Why not explore your fruity side? Dried fruits like raisins, cranberries, or apricots can add a delightful chewiness to your 3 Ingredient DIY Chocolate. Simply chop them up and fold them into the mixture before setting. For an extra burst of flavor, consider adding:
- Freeze-dried strawberries: They contribute a vibrant color and tartness.
- Orange zest: A dash, for a refreshing citrus twist.
Experimenting with spices and flavors
Don’t stop at nuts and fruits—why not experiment with spices? A pinch of cinnamon or a dash of sea salt can elevate the flavor profile in surprising ways. Here are some unique combinations to try:
- Cayenne pepper: For a subtle heat that wakes up the palate.
- Cardamom: Offering a warm, aromatic quality.
Remember, chocolate-making is all about creativity! There are no wrong turns in this sweet journey. Check out these resources from The Chocolate Life for even more inspiration on how to master your homemade chocolates. With these variations, your 3 Ingredient DIY Chocolate will always keep you coming back for more!
Cooking notes for 3 Ingredient DIY Chocolate
Tips for achieving the perfect texture
When making your 3 Ingredient DIY Chocolate, texture is key to that melt-in-your-mouth experience. Here are some handy tips:
-
Quality Ingredients: Use high-quality cocoa powder, because it significantly influences texture and flavor. Choose brands that have a rich profile, such as Valrhona or Ghirardelli.
-
Proper Mixing: Ensure that you mix the ingredients thoroughly. Use a whisk to incorporate air, which will enhance creaminess.
-
Tempering: If you’re feeling adventurous, consider tempering your chocolate. This process stabilizes the cocoa butter and results in that satisfying snap when you break a piece.
Common mistakes to avoid
Even the best chefs can stumble here, so it’s essential to know the pitfalls:
-
Not Measuring Accurately: Precision is vital in this simple recipe. Too much cocoa powder can dry it out, while too little can make it overly rich.
-
Skipping the Cooling Step: Allow your chocolate to cool fully before you taste it. Patience here pays off—rushing can lead to a gritty texture.
-
Incorrect Ratios: Stick to the 3:1:1 ratio of cocoa powder, sweetener, and fat—adjusting these can alter the final product.
For more insights on making chocolate, check out expert blogs like Serious Eats or The Kitchn!
Serving Suggestions for 3 Ingredient DIY Chocolate
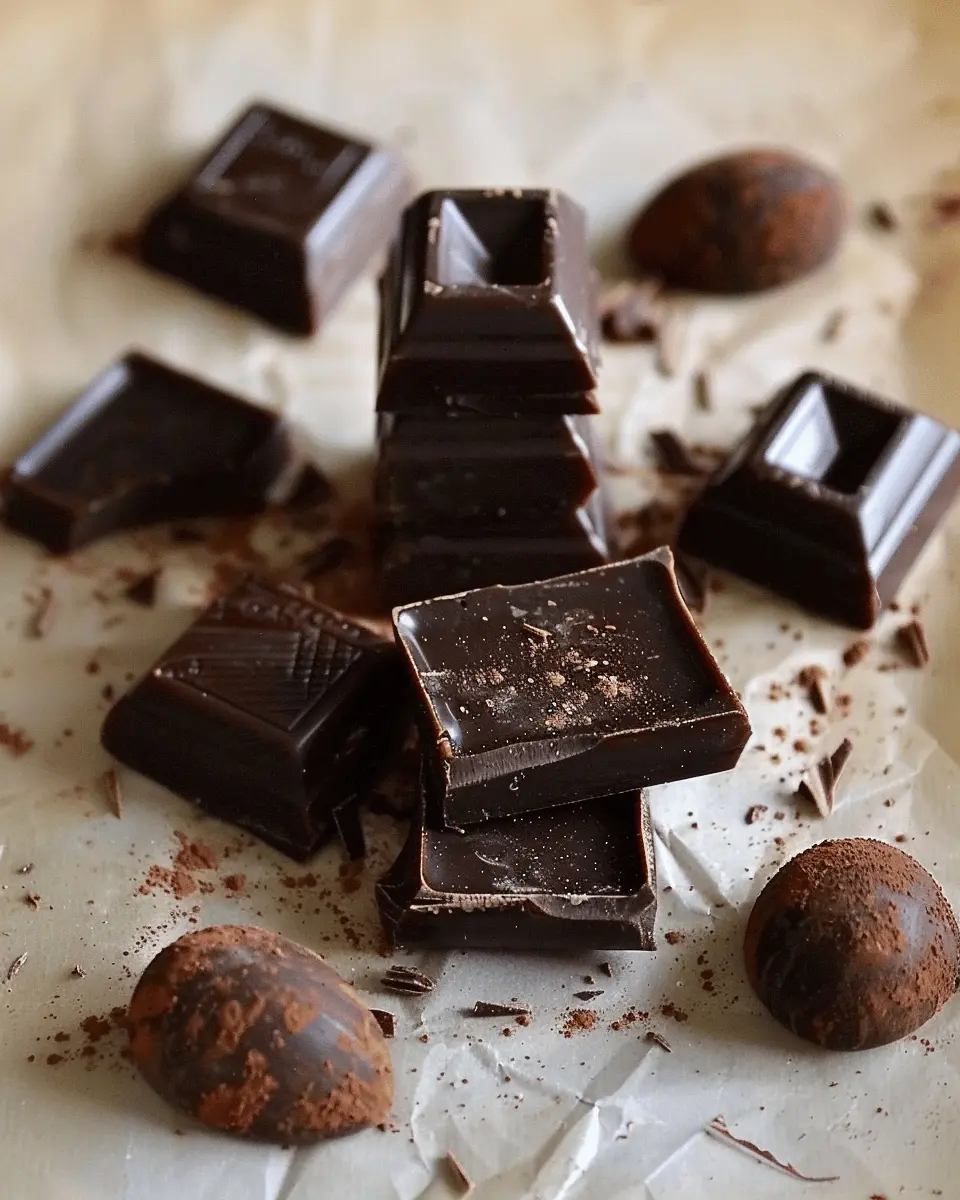
Perfect Pairings for Your Chocolate
When you whip up your delightful 3 Ingredient DIY Chocolate, think about how you can elevate the experience with some perfect pairings. Fresh fruits like strawberries, raspberries, or even banana slices can add a juicy twist to the richness of chocolate. Consider serving it alongside crunchy nuts—almonds or walnuts work wonders. If you’re feeling adventurous, try pairing your chocolate with a creamy cheese like brie or goat cheese for a surprising flavor contrast.
Also, don’t overlook the beverage options! A steaming cup of herbal tea or coffee can create a wonderful balance to the chocolate’s sweetness. Explore delectable pairings with this guide from Mindful Chef to enhance your chocolate experience.
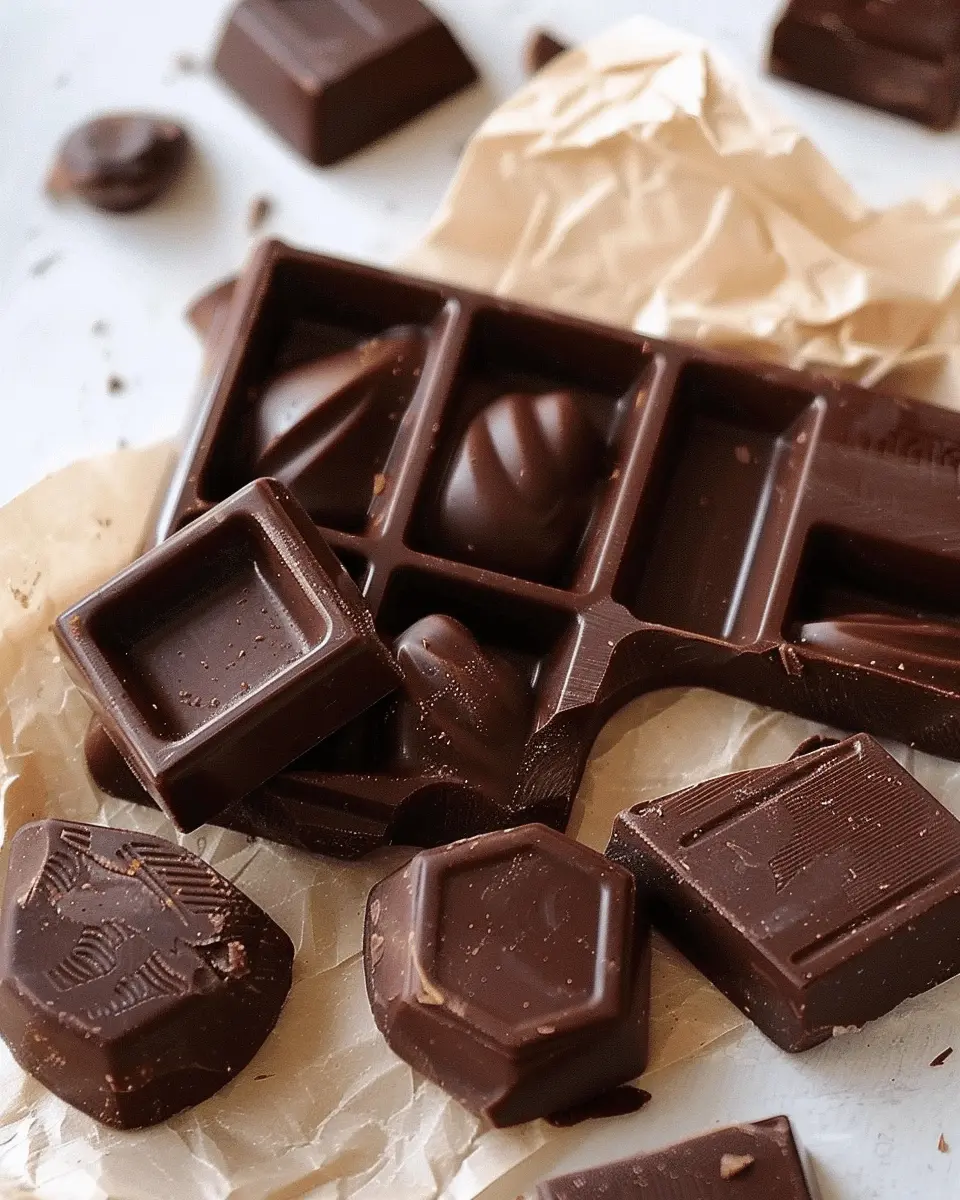
Creative Presentation Ideas
Presentation can make all the difference! Slice your 3 Ingredient DIY Chocolate into fun shapes using cookie cutters and arrange them on a stylish platter. Add a sprinkle of sea salt on top for that gourmet touch, or drizzle some melted chocolate over the pieces for an artsy vibe. You could even package them in clear cellophane bags tied with a ribbon for a charming gift idea!
Remember, the way you present your creation can turn an ordinary treat into a memorable occasion. So, get creative and let your personality shine through!
Time breakdown for 3 Ingredient DIY Chocolate
When it comes to whipping up a batch of your own 3 Ingredient DIY Chocolate, time is on your side! Here’s a quick breakdown so you know exactly what to expect.
Preparation time
Getting started is a breeze! You’ll just need about 10 minutes to gather your ingredients and mix everything together. It’s quicker than that last trip to the store for a chocolate fix!
Freezing time
Once combined, pour your chocolate mixture into molds and let it freeze for about 30 to 60 minutes. This gives it that perfect firmness.
Total time
All in all, you’re looking at roughly 40 to 70 minutes from start to finish. Not bad for a delicious treat that’s all yours! Ready to dive deeper into the world of homemade sweets? Explore this guide on the benefits of making your own chocolate. Enjoy your chocolate-making journey!
Nutritional information for 3 Ingredient DIY Chocolate
When you’re whipping up a batch of 3 Ingredient DIY Chocolate, it’s helpful to understand what goes into your treat. Here’s a quick breakdown of its nutritional profile to keep your health goals on track.
Calories
Each serving of this delightful chocolate contains approximately 100 calories. This makes it a reasonable indulgence when you’re craving something sweet without going overboard.
Fats
With healthy fats coming from your choice of cocoa butter or coconut oil, you’ll find about 8 grams of fat per serving. These fats are beneficial, aiding in nutrient absorption and keeping you feeling satisfied.
Sugars
The sweetness can vary depending on the sweetener used, but typically, you can expect around 5 grams of sugar, especially if opting for a natural sweetener like honey or maple syrup. This keeps your chocolate guilt-free while still delivering a tasty punch!
For more insights on healthy sweeteners, you might want to explore resources from Healthline that discuss natural alternatives. Remember, it’s all about balance, so enjoy your 3 Ingredient DIY Chocolate in moderation while savoring every bite!
FAQs about 3 Ingredient DIY Chocolate
Creating your own chocolate can be a delightful adventure, but it’s natural to have a few questions before diving in. Let’s clear up some common inquiries about your 3 Ingredient DIY Chocolate experience!
How long does homemade chocolate last?
One of the key perks of making your own chocolate is its shelf life. Generally, your 3 Ingredient DIY Chocolate can last about 2 to 3 weeks at room temperature. To maximize freshness, it’s best to store it in an airtight container in a cool, dry place. If you want to enjoy it for longer, consider refrigerating your creations. Just remember to let them come to room temperature before indulging – this helps achieve that perfect melt-in-your-mouth texture!
Can I use different sweeteners?
Absolutely! One of the joys of a 3 Ingredient DIY Chocolate recipe is its versatility. If you’re looking to substitute sugar, options like honey, agave syrup, or even stevia can work wonders. Just make sure to adjust the quantities based on the sweetness level you’re aiming for. Each sweetener brings a unique flavor; so feel free to experiment until you find your personal favorite!
What should I do if my chocolate doesn’t set?
Don’t fret if your chocolate doesn’t firm up as expected. There are a couple of things you can try:
- Gentle Heat: Simply reheat the mixture and add a little more coconut oil or cocoa butter, then pour it into molds again.
- Chill Out: Sometimes, placing your chocolate in the fridge for a longer duration can help it set properly.
If you’re really in a pinch, melting down the chocolate and using it as a sauce or drizzling it over desserts works just as well. Chocolate can be forgiving; enjoy the process!
For more sweet treats and creative recipes, check out Serious Eats for inspiration!
Conclusion on 3 Ingredient DIY Chocolate
Wrapping it up with chocolate love
Creating your own 3 Ingredient DIY Chocolate is not just about satisfying that sweet tooth; it’s a celebration of creativity in the kitchen. With just a few simple ingredients, you can whip up delicious chocolate that you can customize to your heart’s content.
Think of it as a canvas for your flavor cravings—add a pinch of sea salt, a splash of vanilla, or even a sprinkle of chili for some unexpected zing! Plus, there’s something so rewarding about making your treats from scratch. Whether you’re gifting them to a friend or indulging on a cozy night in, this DIY chocolate recipe has you covered.
Feeling adventurous? Explore more about the benefits of homemade treats in this detailed guide. Now, grab your ingredients and let the chocolate-making magic begin!
Print3 Ingredient DIY Chocolate Dessert That’s So Easy and Indulgent
Learn how to make delicious chocolate dessert with only three ingredients. This simple recipe is perfect for chocolate lovers.
- Prep Time: 10 minutes
- Cook Time: 5 minutes
- Total Time: 2 hours 15 minutes
- Yield: 8 servings 1x
- Category: Dessert
- Method: No-Bake
- Cuisine: American
- Diet: Vegetarian
Ingredients
- 1 cup chocolate chips
- 1/2 cup sweetened condensed milk
- 1 teaspoon vanilla extract
Instructions
- In a saucepan, combine chocolate chips and sweetened condensed milk over low heat.
- Stir until the chocolate is completely melted and smooth.
- Remove from heat and stir in the vanilla extract.
- Pour the mixture into a lined pan and spread evenly.
- Refrigerate for at least 2 hours until set.
Notes
- For a different flavor, add a pinch of sea salt or some nuts.
Nutrition
- Serving Size: 1 square
- Calories: 150
- Sugar: 15g
- Sodium: 30mg
- Fat: 8g
- Saturated Fat: 5g
- Unsaturated Fat: 2g
- Trans Fat: 0g
- Carbohydrates: 18g
- Fiber: 1g
- Protein: 2g
- Cholesterol: 10mg
Keywords: 3 Ingredient DIY Chocolate, chocolate dessert, easy dessert